Exports & Visualisations
When exporting policy document results, you can choose the data points and file format that best suit your needs. This page explains the export options available and how to use them.
Getting started
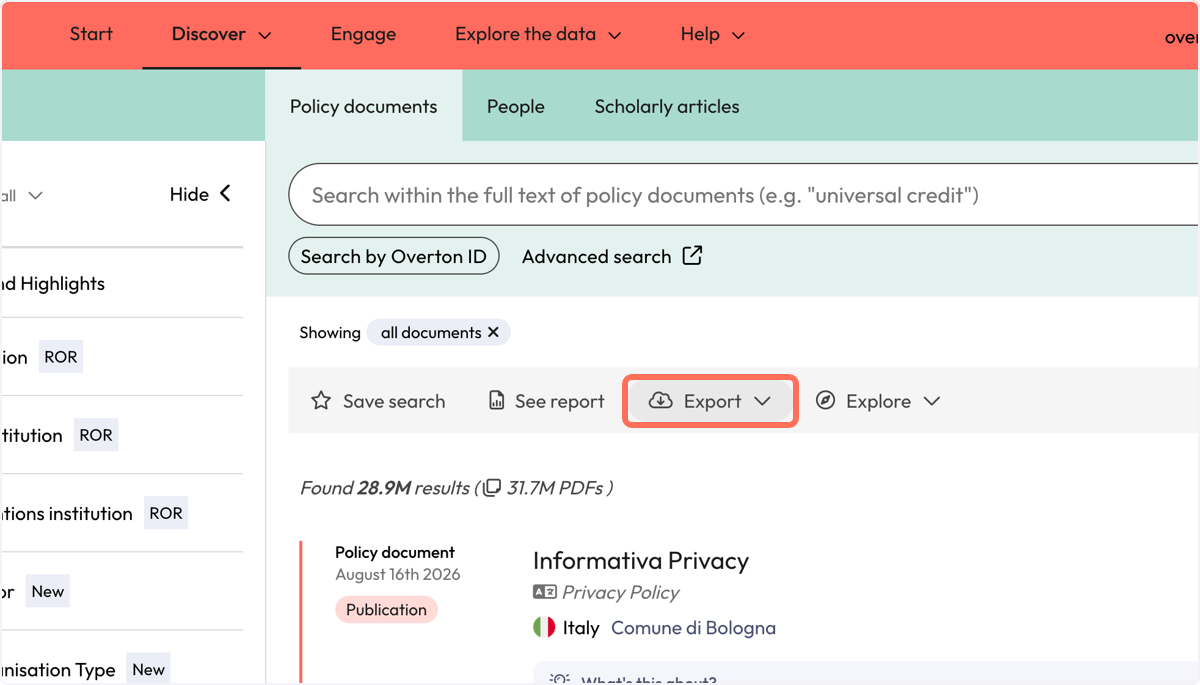
To start, run your search, then select ‘Export’ from the grey action bar on the policy documents results page.
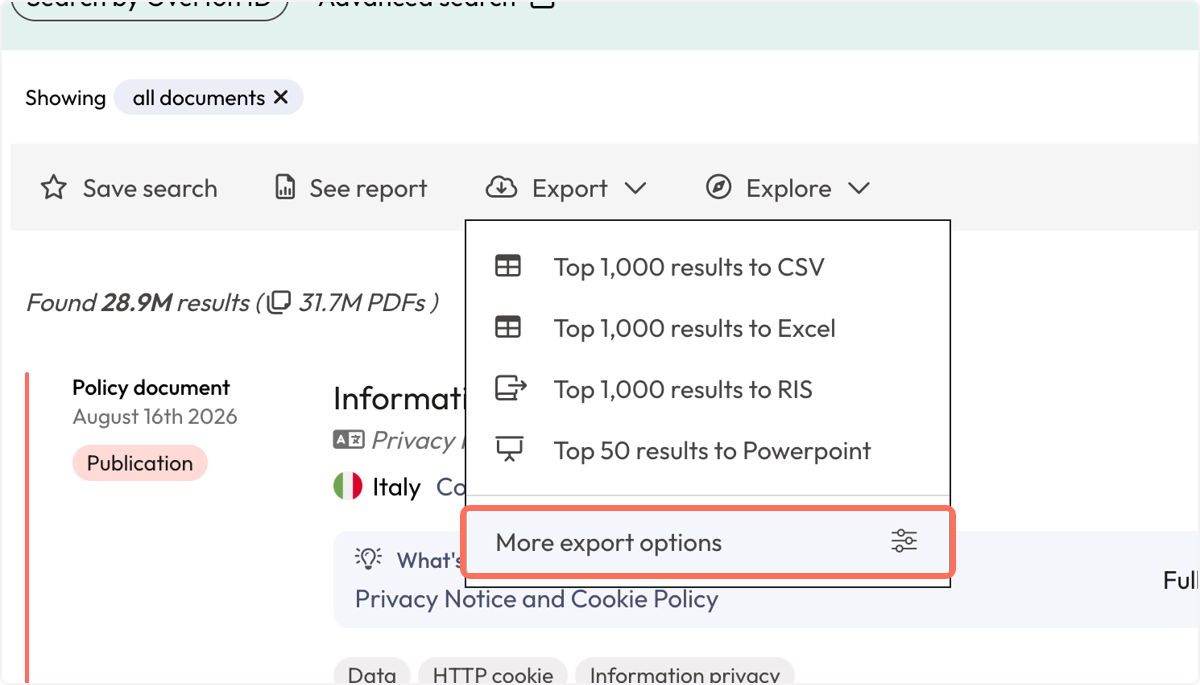
If you know which export option you’d like to use, you can select it from the list. To explore export options, scroll to the bottom of the list and select ‘More export options’ which will take you to the full export experience where you can select your format, number of results, data points and method of export.
Choosing a format
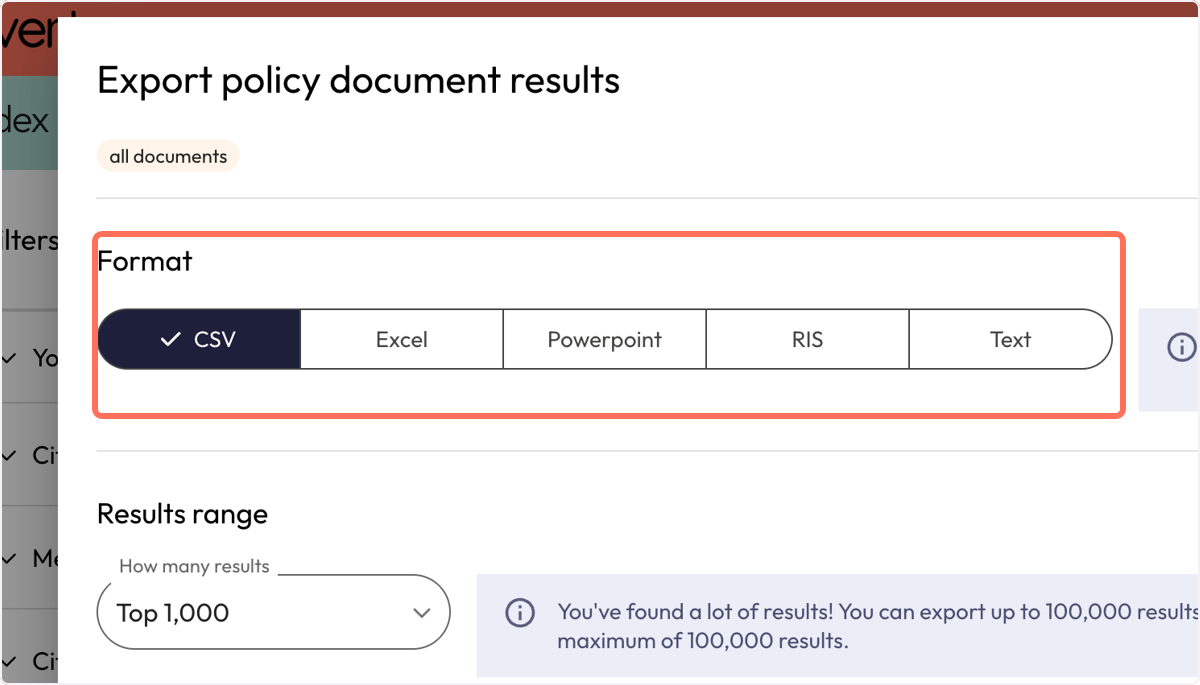
After you click ‘More export options’, you will need to pick the format at the top of the export panel to start.
Decide on the best export format
| Format | Best for | Maximum results (per export or batch) |
| CSV | CSV is great for analysing large datasets. Choose this when you need to filter, sort, or perform statistical analysis on policy document attributes. | 100,000 |
| Excel | Excel is great for citation analysis. Includes detailed information about references linked to each policy document. Choose this when you want to examine what articles or documents are being cited in policy or analyse citation patterns. These results will show in two separate sheets. | 1,200 |
| Powerpoint | Powerpoint is great for presentations and reports. Choose this when you need to visually communicate your search results with others. | 50 |
| RIS | RIS is great for systematic reviews. Generates a file compatible with reference managers like Zotero, Mendeley, and EndNote. Choose this when you need to import scholarly articles into your citation management workflow. | 100,000 |
| Text | Plain text is great for quick reference and text-based workflows. Choose this when you need a simple, readable summary of your results or want to paste document information into another tool or document. | 100,000 |
Setting the results range
Under ‘Results range’, use the ‘How many results’ dropdown to choose how much of your result set to export. You have four options:
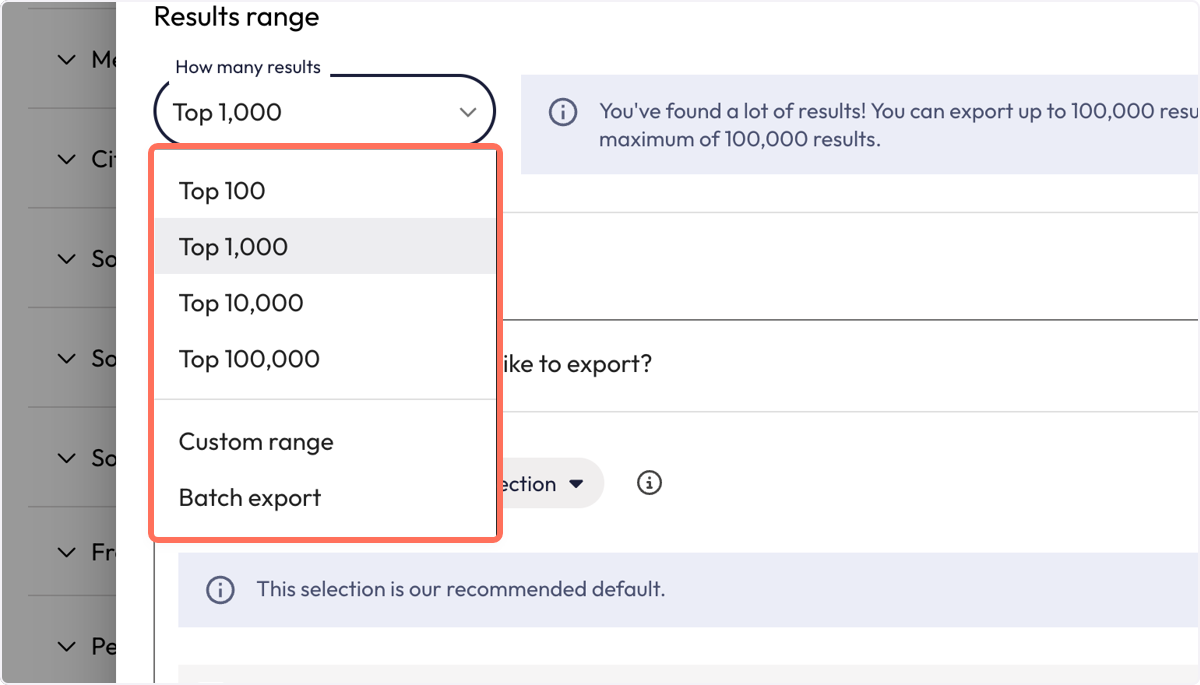
- All results —everything your search returned, up to the limit for your chosen format (see the table above). If your search returns more than the format allows, you’ll get the maximum number of results in your current sort order.
- Top 50, 100 or 1,000 — the first results in your current sort order.
- Custom range — specify your own start and end point.
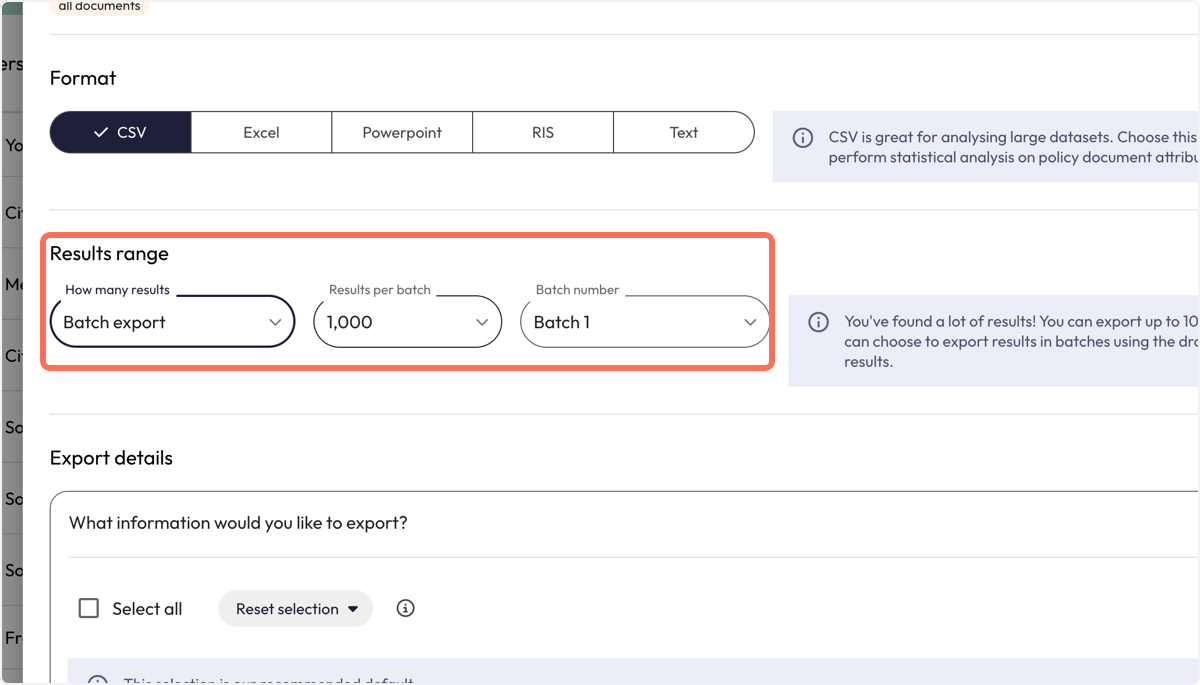
- Batch export – if you have a large results set, you can batch export in different formats to get all of your results easily.
Sort order impacts results
Because the top results options take results in the order they’re currently displayed, check your sort setting before exporting. For example, sorting by relevance and sorting by date will give you very different result sets.
Choosing what information to include
Open ‘What information would you like to export?’ to control which fields appear as columns in your file.
Each field includes a ‘tooltip’ which provides a description of the field data.
Some fields may appear greyed out. These aren’t available for the export type that you have selected.
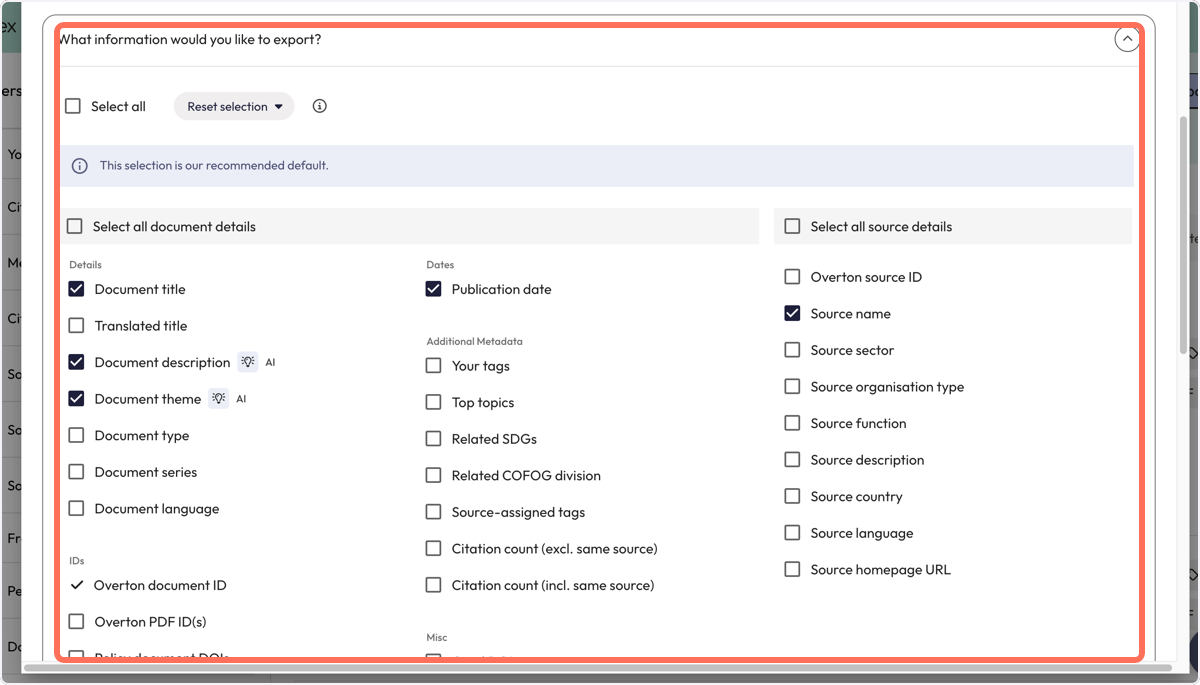
Fields are grouped into two columns:
Document details – information about the policy document itself:
- Details: document title, translated title, description, theme, type, series and language. Description and theme are AI-generated and marked with an AI icon.
- IDs: Overton document ID, Overton PDF ID and policy document DOIs.
- URLs: document URL, Overton URL, PDF URL and Internet Archive URL (if available).
- Dates: publication date.
- Additional metadata: your tags, top topics, related SDGs, related COFOG division, source-assigned tags, and citation counts (both including and excluding citations from the same source).
Source details – information about the organisation that published the document: Overton source ID, source name, sector, organisation type, function, description, country, language and homepage URL.
To make selections:
- Tick individual fields, or use ‘Select all document details / Select all source details’ to take a whole group.
- ‘Select all’ takes every available field.
- ‘Reset to default selection’ returns you to Overton’s recommended set: title, description, theme, publication date, Overton document ID, Overton PDF ID, document URL, Overton URL and source name. When the defaults are in place, you’ll see a note confirming it.
Excel exports: the Matched References sheet
Excel exports include an extra sheet called ‘Matched References’, which isn’t available in other formats.
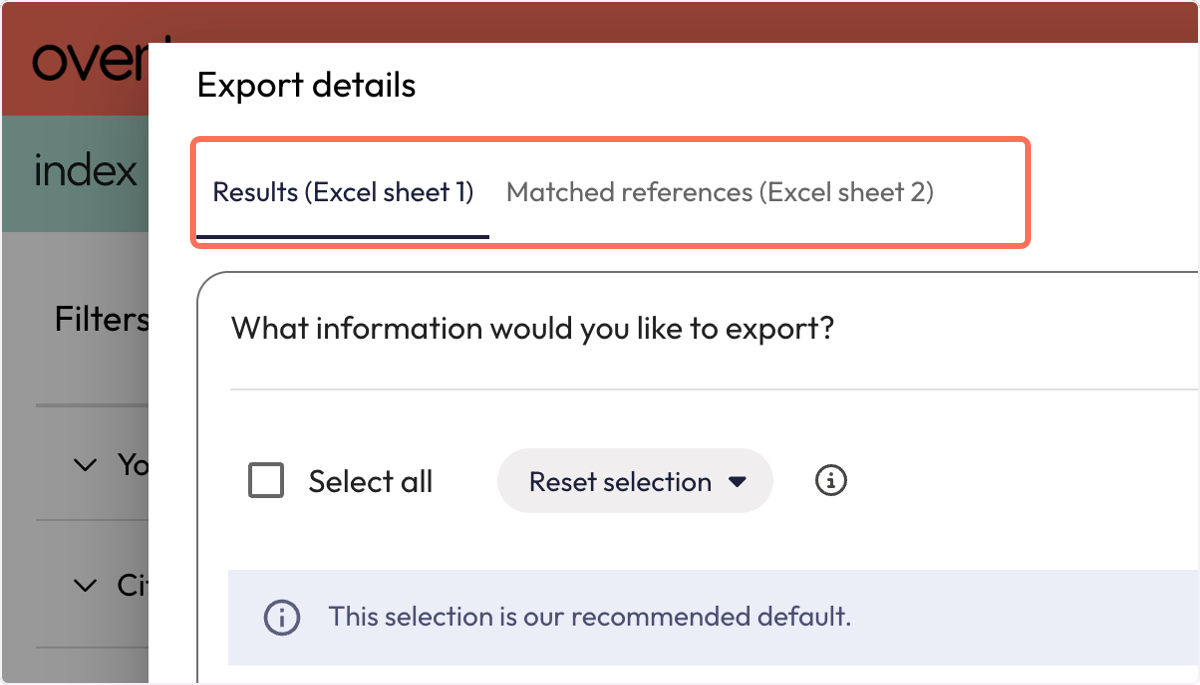
Where the main sheet gives you one row per policy document, ‘Matched References’ gives you one row per citation or mention. That makes it the sheet to use if you want a citation count, or if you need to see exactly what was cited and in what context.
The first columns describe the policy document itself. Columns beginning with ‘Matched’ describe the thing being cited, for example; a research output, another policy document, or a person mentioned by name.
Previewing your export
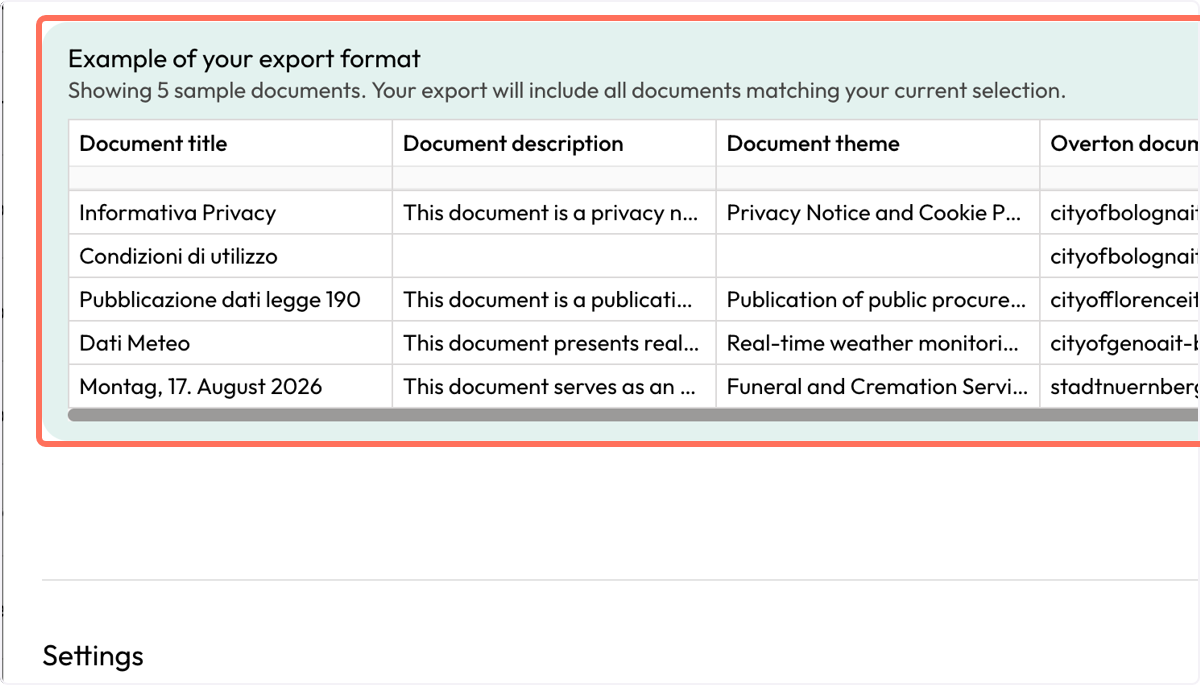
The ‘Preview’ panel below the field list updates as you make selections, showing the first few rows exactly as they’ll appear in your file. Scroll it horizontally to check the full set of columns before you export.
Saving your selection
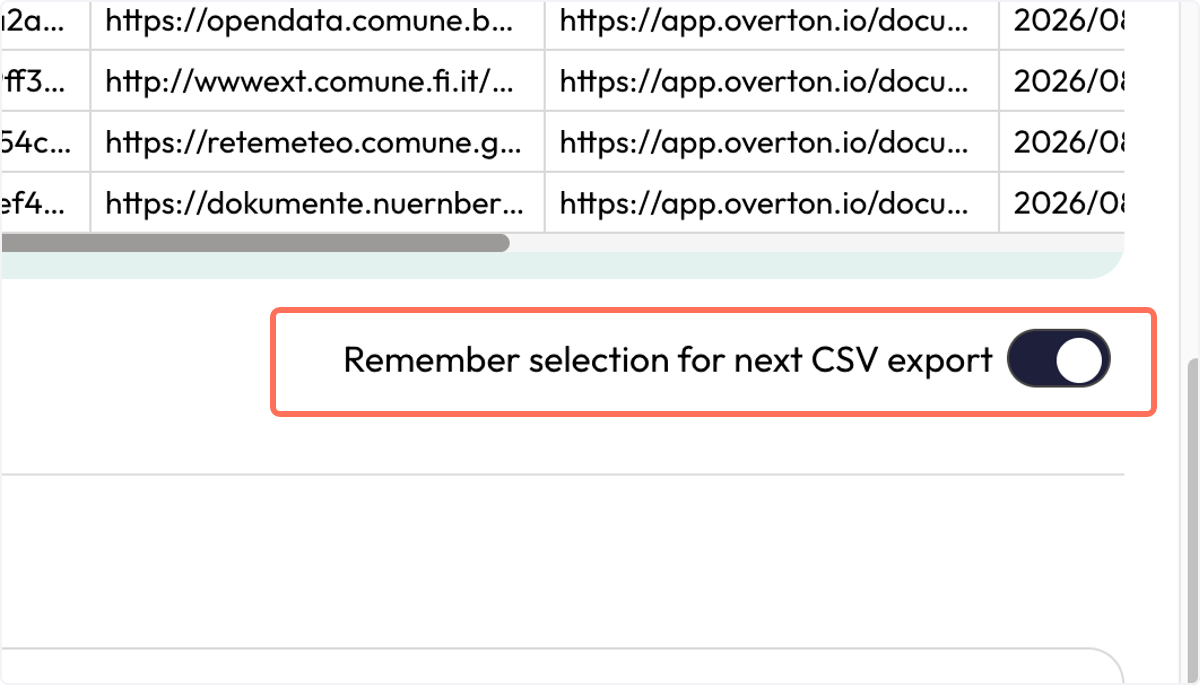
Turn on ‘Remember selection for next export’ if you want Overton to reuse these fields the next time you export in this format.
Export settings
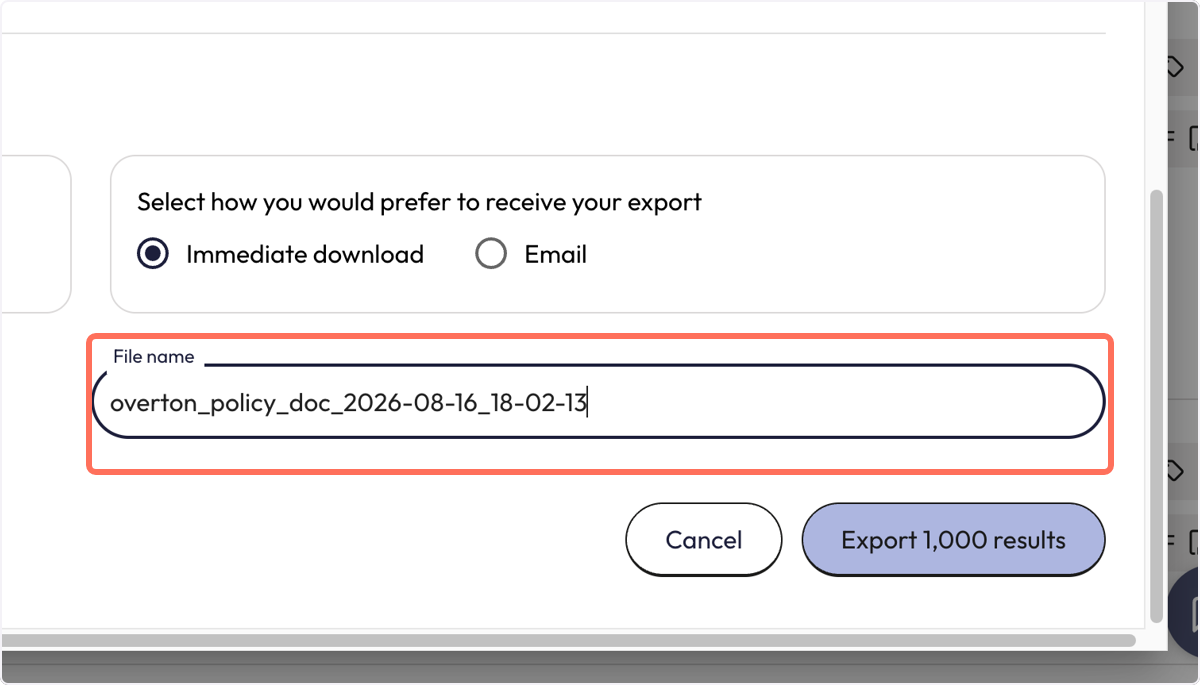
Before you send your export, you can choose your preferred date format. You can also choose to export to email or to directly download your export file.
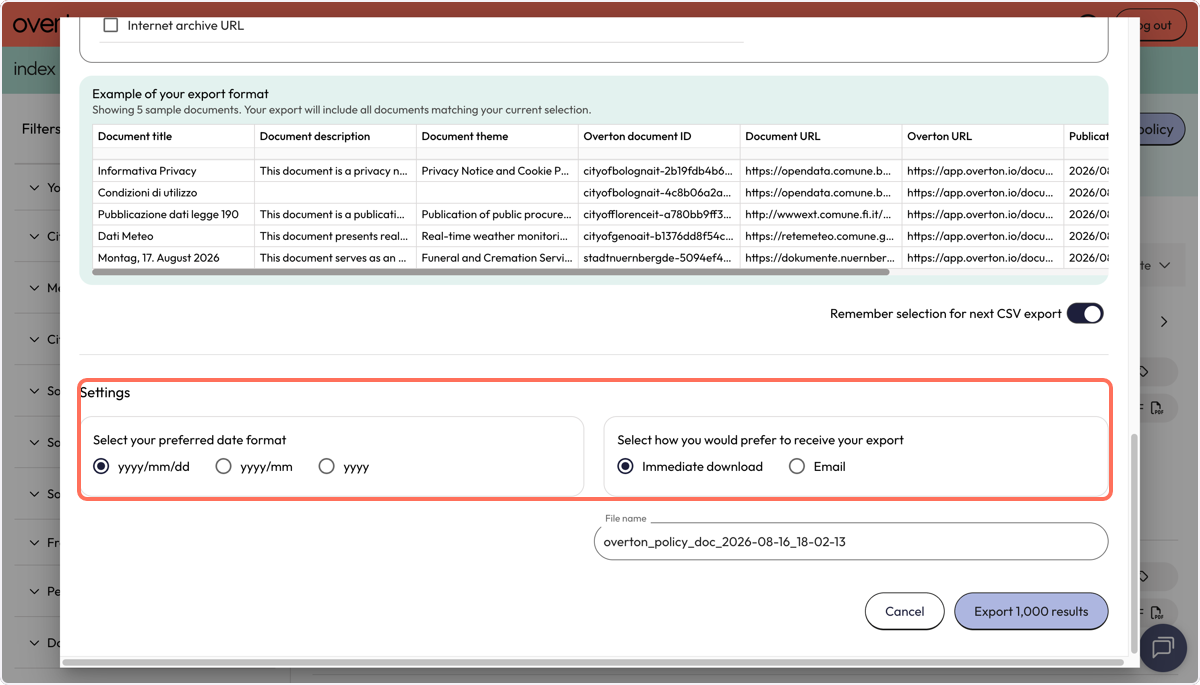
You can also give your export a preferred file name.