Exports & Visualisations
When exporting scholarly article search results and authors from the people search. For scholarly articles you can choose the data points and file format that best suit your needs. This page explains the export options available and how to use them.
Exporting authors from People
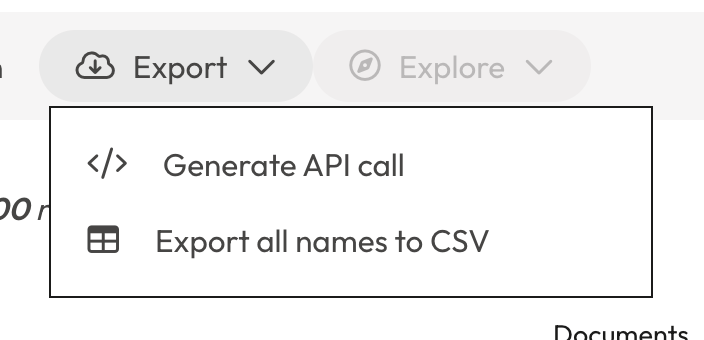
From the People and Scholarly Article search interface, you can also export a list of results to CSV using the ‘Export’ button in the grey bar above the search results.
Exporting scholarly articles
Getting started
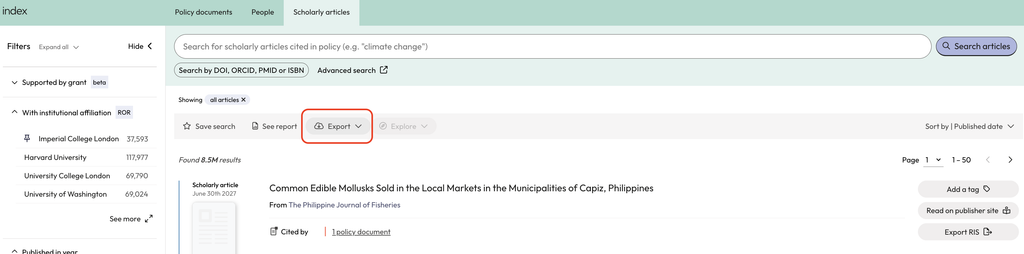
To start, run your search, then select ‘Export’ from the grey action bar on the scholary articles results page.
If you know which export option you’d like to use, you can select it from the list. To explore export options, scroll to the bottom of the list and select ‘More export options’ which will take you to the full export experience where you can select your format, number of results, data points and method of export.
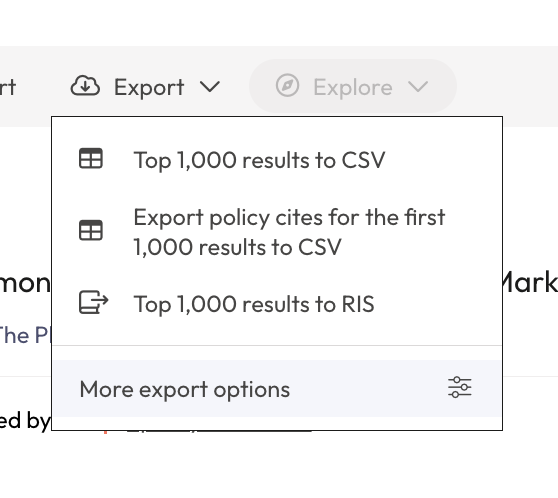
Please note that you are only able to export policy cites from the quick export menu, this option isn’t available in full export dialog.
Choosing a format
After you click ‘More export options’, you will need to pick the format at the top of the export panel to start.

Decide on the best export format
| Format | Best for | Maximum results (per export or batch) |
| CSV | CSV is great for analysing large datasets. Choose this when you need to filter, sort, or perform statistical analysis on scholarly articles. | 100,000 |
| RIS | RIS is great for systematic reviews. Generates a file compatible with reference managers like Zotero, Mendeley, and EndNote. Choose this when you need to import scholarly articles into your citation management workflow. | 100,000 |
| Text | Plain text is great for quick reference and text-based workflows. Choose this when you need a simple, readable summary of your results or want to paste article information into another tool or document. | 100,000 |
Setting the results range
Under ‘Results range’, use the ‘How many results’ dropdown to choose how much of your result set to export. You have four options:
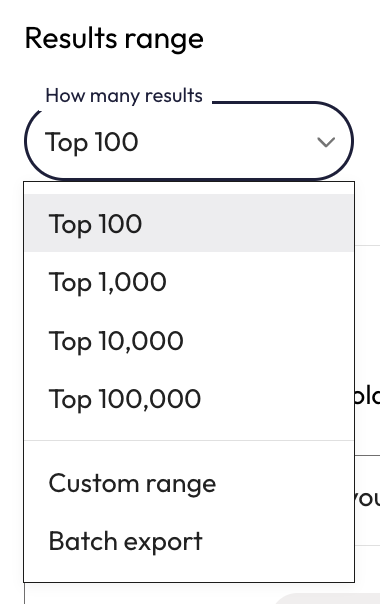
- All results —everything your search returned, up to the limit for your chosen format (see the table above). If your search returns more than the format allows, you’ll get the maximum number of results in your current sort order.
- Top 100, 1000, 10,000 or 100,000 — the first results in your current sort order.
- Custom range — specify your own start and end point.
- Batch export – if you have a large results set, you can batch export in different formats to get all of your results easily.
Sort order impacts results
Because the top results options take results in the order they’re currently displayed, check your sort setting before exporting. For example, sorting by relevance and sorting by date will give you very different result sets.
Choosing what information to include
Open ‘What information would you like to export?’ to control which fields appear as columns in your file.
Each field includes a ‘tooltip’ which provides a description of the field data.
Some fields may appear greyed out. These aren’t available for the export type that you have selected.
Fields are grouped into two columns:
Article details – information about the scholarly article itself: article title, DOI, DOI URL, publication date, authors, ORCID ID(s)and your tags applied to the articles.
Publisher details – information about the publisher of the article: publisher name, journal, journal homepage URL, journal ISSN(s, )journal volume, journal issue, page, journal subject(s), policy citation count and CrossRef type.
Funder details – information about the funder of the scholarly article: article funder(s).
To make selections:
- Tick individual fields, or use ‘Select all document details / Select all source details’ to take a whole group.
- ‘Select all’ takes every available field.
- ‘Reset to default selection’ returns you to Overton’s recommended set.
Previewing your export
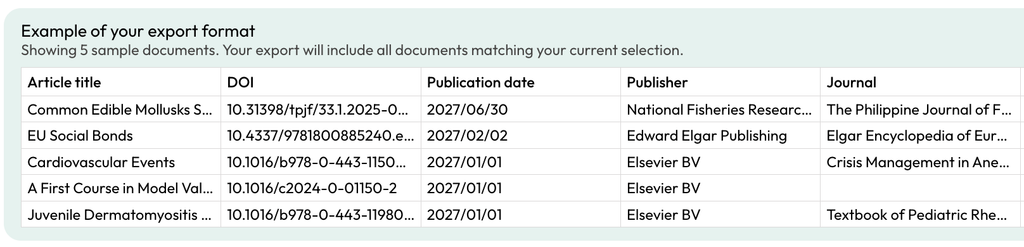
The ‘Preview’ panel below the field list updates as you make selections, showing the first few rows exactly as they’ll appear in your file. Scroll it horizontally to check the full set of columns before you export.
Saving your selection
Turn on ‘Remember selection for next export’ if you want Overton to reuse these fields the next time you export in this format.

Export settings
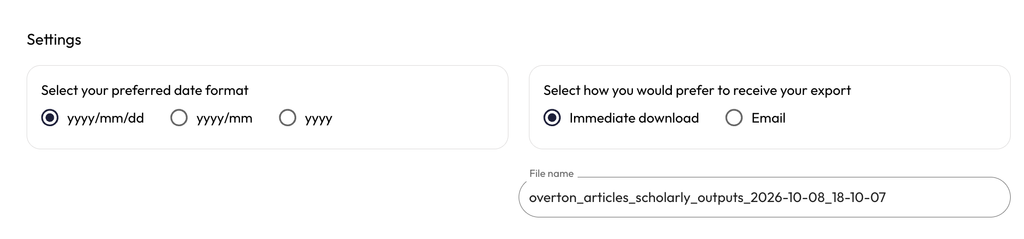
Before you send your export, you can choose your preferred date format. You can also choose to export to email or to directly download your export file.
You can also give your export a preferred file name.